
1) Why choose rooftop solar
Installing solar panels on roof converts unused roof area into long-term savings, lowers your grid dependency, and reduces your carbon footprint. For many homeowners and small businesses, roof top solar panels offer the best balance of cost, convenience and output because panels are close to where the energy is used (reducing transmission loss and enabling net-metering benefits). For larger systems you can still expand on shaded ground areas or awnings, but the roof is usually the first, easiest place to start.
2) Quick overview of the installation process
From my experience, professional rooftop installs follow a reliable pattern:
- Site assessment and solar production estimate.
- System design (panel layout, racking, inverter choice).
- Permits and utility paperwork (net-metering application).
- Procurement of components.
- On-site installation: racking, panels, inverter, wiring.
- Inspection, commissioning and grid interconnection.
This stepwise approach is how most reputable installers operate — it minimizes surprises and keeps safety and performance first.
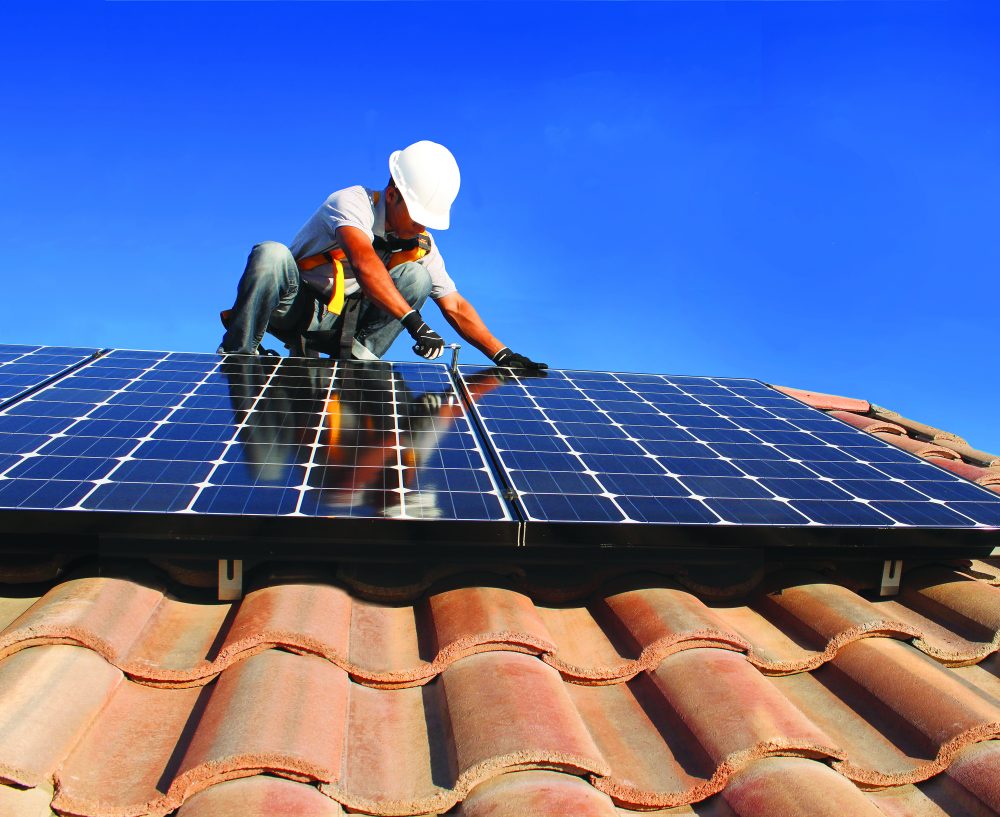
3) Step-by-step: what actually happens on your roof
Below I break each stage into what you’ll see and what decisions matter.
1. Site assessment & load review
A technician inspects roof orientation, tilt, shading (trees, chimneys), rooftop obstructions (skylights, vents), and roof age/condition. They’ll also review your historical electricity bills to size the system. If shading is significant, we discuss module-level power electronics (microinverters or optimizers).
2. Structural check & permit pack
We check that the roof structure can support the panels and racking. Older roofs may need reinforcement or replacement before installation (always do the roof work first if replacement is due). The installer prepares permit drawings and applies to the local authority and utility for net-metering.
3. Design, equipment and mounting selection
Design choices include panel type, inverter topology (string vs microinverter), and mounting style (ballasted, rail-and-clamp, tile flashings). Panels are laid out for maximum production while avoiding vents and roof penetrations where possible.
4. Installation day(s)
Typically 1–3 days depending on system size. Mounting rails or flashings are attached to roof rafters or flashing points, panels are clamped in, DC wiring runs to the inverter, and AC wiring goes to the distribution board. An isolator and safety signage are added for the utility and emergency services.
5. Testing & commissioning
Installer tests insulation, polarity, earth continuity, and inverter communication. Once checks pass, the utility inspects and grants permission to operate (PTO). Only after PTO can you export to the grid.
4) Roof types, mounting options & structural checks
Different roofs require different approaches:
- Concrete slab / metal roofs: straightforward racking and clamp solutions; very common in India.
- Tiled roofs: use tile-replacement flashings or hooked mounts to avoid broken tiles; installers will often replace a small tile with a flashing to secure the rail.
- Flat roofs: use ballasted frames or tilted racks to set optimal tilt without penetrating the membrane (but ensure ballast won’t overload structure).
- Asphalt shingle: typical rail-and-lagbolt solutions with flashings under shingles.
- Structural checklist: rafter spacing, roof span, age of underlayment, local wind load rating. If your roof is older than ~15 years you should plan roof repairs first.
5) Safety, permits & net-metering in Goa
Two practical points for readers in and around Porvorim/Goa:
- Permits and net-metering: Goa’s electricity department and GEDA support Installing solar panels on roof solar and have a net-metering mechanism; installers usually handle the net-metering application and grid-interconnection paperwork. Tariffs and procedures can change, so expect specific forms and a utility inspection before export is allowed.
- Working safely at height: installers must use harnesses, fall-arrest systems and roof anchors. Qualified crews follow electrical safety standards and ensure proper earthing and lightning protection where necessary.
6) How to size your system and estimate payback (simple expert method)
A quick, back-of-the-envelope sizing method I use:
- Annual electricity use (kWh) = look at past 12 months of bills.
- Divide annual kWh by 1,200–1,400 (typical kWh/kW/year for many parts of India) to get required kW system size.
- Example: 4,800 kWh/year ÷ 1,300 ≈ 3.7 kW system.
- Example: 4,800 kWh/year ÷ 1,300 ≈ 3.7 kW system.
- Multiply system size (kW) by current installed cost per kW (ask your installer for a quote).
- Estimated simple payback = (Net system cost after subsidies) ÷ (Annual electricity bill savings).
Factors that influence payback: electricity tariff, net-metering settlement rules, roof orientation, shading, and available subsidies. Use this formula to compare quotes. (Your installer should provide a production estimate and a 25-year cashflow.)
7) Maintenance, warranties & common issues
Installing solar panels on roof are low-maintenance but not zero-maintenance:
- Cleaning: in Goa’s coastal/dusty areas panels may need cleaning 1–4 times a year depending on soiling. Cleaning early morning or late evening with soft water and mild detergent is best. Avoid pressure washers.
- Inverter: the inverter is the “brain” and usually requires a check every 3–5 years; many inverters have 5–10 year warranties (extendable).
- Panel warranty: look for 10–12 year workmanship warranty and 25-year performance warranty from module manufacturers.
- Monitoring: basic monitoring via the inverter portal helps spot underperformance quickly.
Common issues: micro-shading from new tree growth, loose clamps after extreme storms, or inverter alarms that need a quick site visit.
8) Helpful enhancements — checklists & quick formulas
Pre-installation checklist (tick before you sign)
- Roof age < 15 years or scheduled for replacement.
- Clear roof area ≥ required for chosen kW.
- No major shading from trees/buildings between 9am–3pm.
- Access for installers and safe parking.
- Copies of electricity bills for last 12 months.
- Confirm installer handles net-metering paperwork and PTO.
Quick cost formula (estimate)
- System kW × cost per kW = gross cost
- Gross cost − (subsidy, if eligible) = net cost
- Net cost ÷ annual bill savings = simple payback (years)
What to ask your installer
- Do you provide structural calculations?
- Which brands for panels and inverter? Model numbers?
- Are monitoring and warranty transfers included?
Who handles net-metering application and post-installation inspections?
FAQ
Q — Can I install panels if my roof faces east/west, not south?
Q — Do I need battery backup?
Q — How long do panels last?
Q — Will rooftop solar damage my roof?
Q — How fast will I recover my investment?
Q — Does humidity/coastal salt spray reduce panel life?
Final thoughts & next steps
Installing solar panels on roof is a proven, practical way to cut bills and boost property value — but success depends on good assessment, correct mounting for your roof type, and a trustworthy installer who handles permits and net-metering. If you’re in Goa and want an on-site assessment, Xnergs (Near O, Coquerio Circle, Chogam Road, Porvorim, Goa) offers local surveys and turnkey installation; visit xnergs.in Phone: +91-8908905556 Email: info@xnergs.in to request a quote or call their local office.